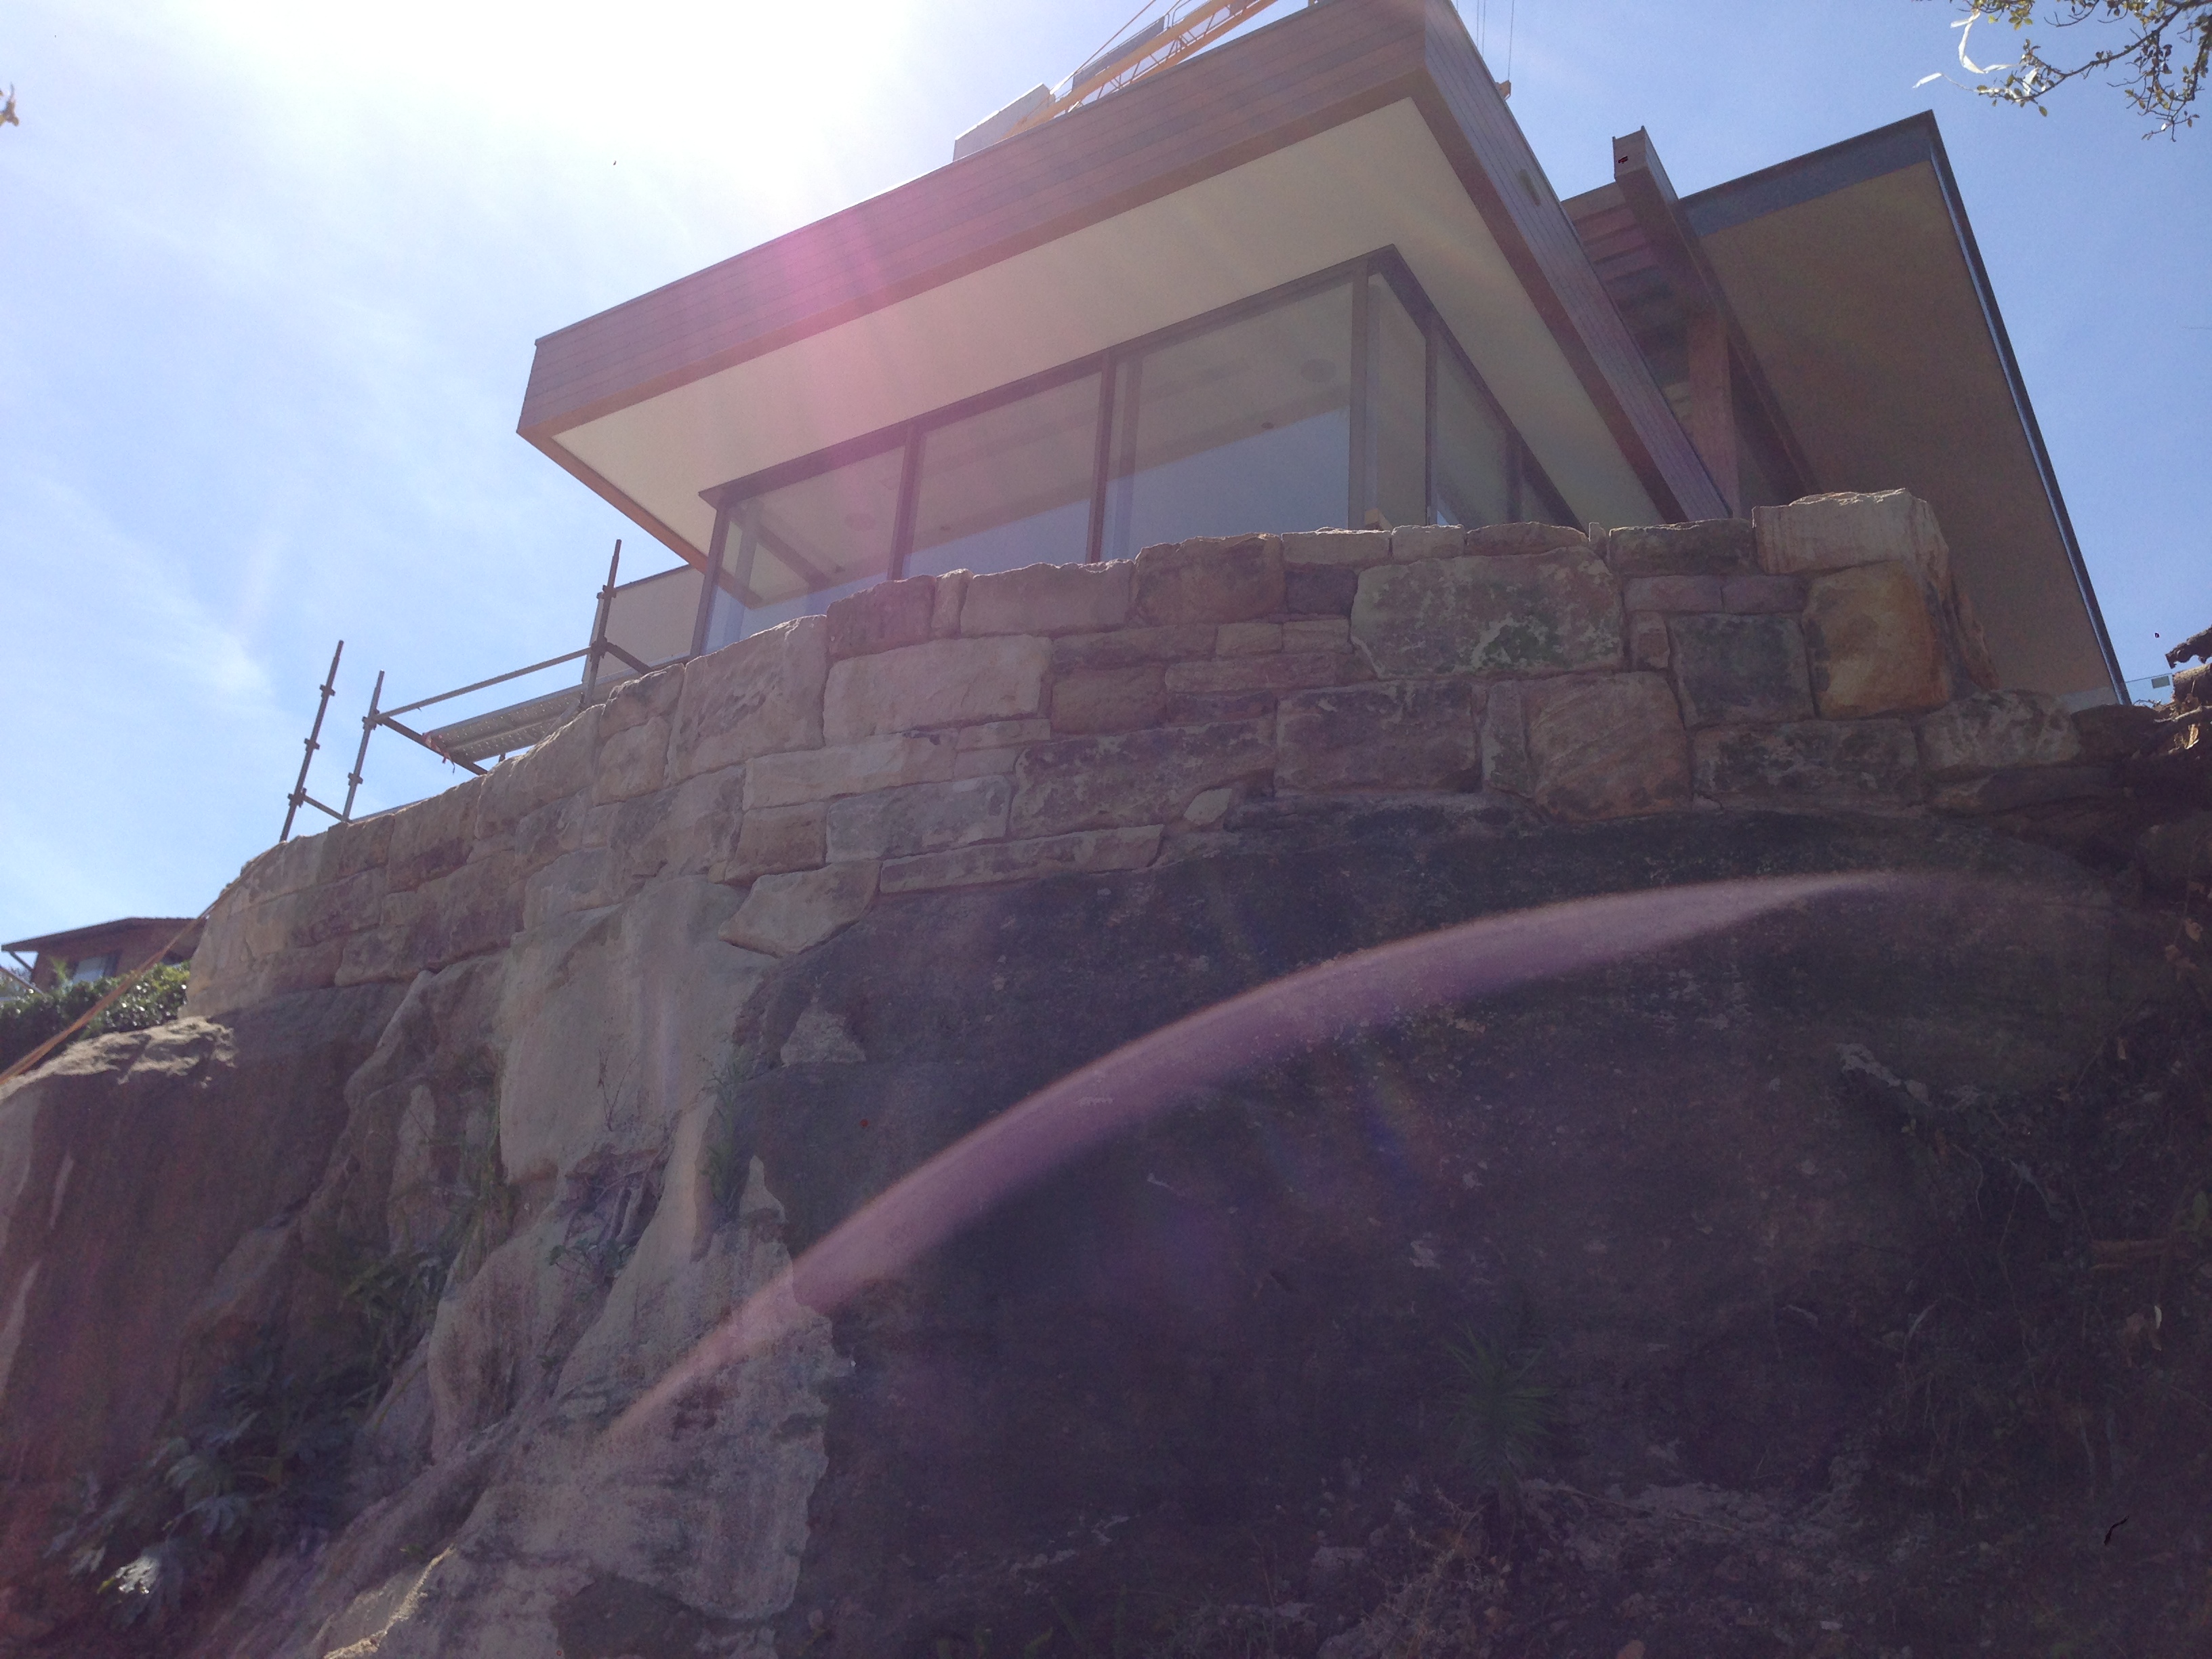
photo 3 Published January 23, 2013 at 3264 × 2448 in Handywork ← Previous Next → The front wall from further back Share this: post to anyoneTweet Email a link to a friend (Opens in new window) Email Share on WhatsApp (Opens in new window) WhatsApp Share on Nextdoor (Opens in new window) Nextdoor Share on Reddit (Opens in new window) Reddit Share on Threads (Opens in new window) Threads Like Loading...


